
It has been several months since I moved to beautiful Stonington Borough, the most charming little village only 4 miles away from Mystic, CT and 8 miles from the Rhode Island border. The house I rented is lovely but it came furnished and the rooms were painted in a variety of colors. This post is about how I updated the interior and ‘beautified’ the exterior, hence the before and after photos. Come on in!

The first thing I did upon moving was to paint the rooms white and move all the furniture in the largest of the 2 bedrooms so they could be safely stored and I could use my own furnishings. Unfortunately that meant I couldn’t use that bedroom as a guest room since it became a dedicated storage space. Fortunately since I live alone with my kitties and the pandemic excluded (and still does) having guests it hasn’t been a problem. Except for the kitties who would jus love to go in there and explore. But, to their regrets—expressed with pleading eyes and meows, they are not allowed. I just don’t want them to go in and grace the furniture with all their fluffy hair!
Let’s start with the living room

Though I understand some people prefer color to neutral, personally I have a thing for white walls. As for furniture I lean toward a more current look although I do like to juxtapose some vintage pieces here and there.

Going with lighter furniture and a softer palette made the room appear larger and much brighter. Other than the pink armchair, the floor lamp and the Lucite side table I bought everything on line, which was the first time I ever bought on line.

These are 2 views of the ‘before’ corner and wall opposite the sofa.

The opening above the armchair is between the living room and the dining room. The following photos illustrate how more spacious that area now looks. Though since I took these shots I moved the Lucite chair to were the pink one was and also moved the hanging IKEA light fixture. You will see that below.
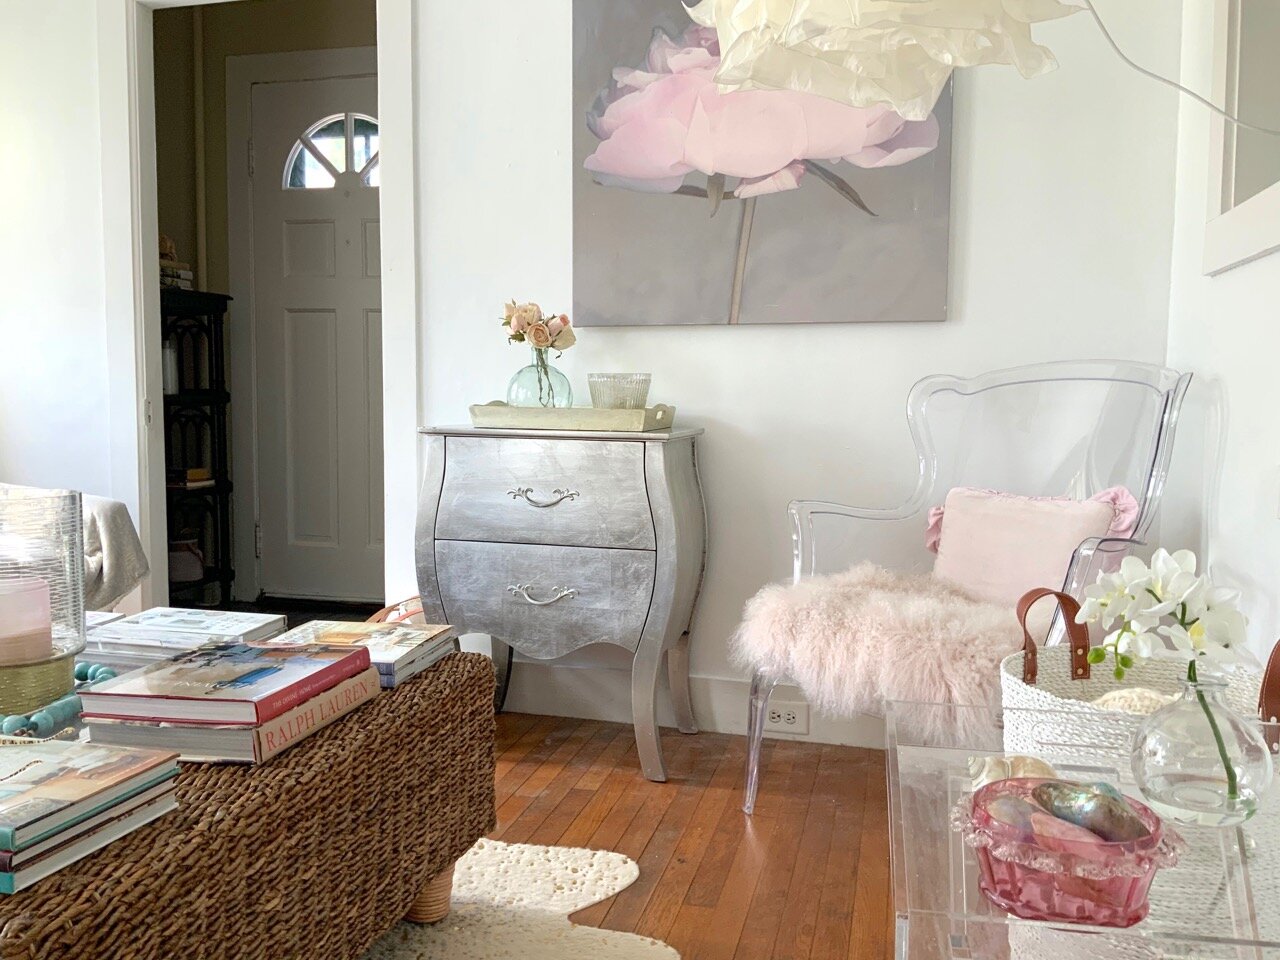

Here is where the Lucite chair now resides

The dining room ‘before’ had a cute table and chairs and a large buffet, which I moved into the hallway near the front door as it would have been impossible to move it into the spare bedroom upstairs. The staircase is almost like a spiral one and is fairly narrow. Plus I had a rather ample farmhouse table and a sideboard that had to fit int he DR.

The hallway from the DR and LR is small and curvy but the buffet fits just right opposite the staircase .


I removed (and saved) the ceiling fixture and installed the chandelier (a gift from my sister) that has (and always will) follow me from house to house. I had the Lucite chairs (won’t part with those either) and the little bar cart bought at Pier1 several years ago. It’s a very handy little piece.


You will notice that I change accessories and even artwork. Kind of rotate things so I can enjoy it all at different times.

The DR has a nice little alcove that wasn’t utilized. Turned out to be the perfect spot for a narrow table I had. There was also an empty space between the alcove and the French doors from the kitchen to the garden and it too was just the right space for a little vintage buffet.


Other than painting the walls white and buying the little curtains at Target, I didn’t change anything to the kitchen. Since I am renting I didn’t want to paint the cupboards , which are very good quality. The kitchen opens to the DR and is a galley style kitchen. Though it’s narrow it has everything needed. I did buy the little kitchen cart that stands in front of the back door to the garden.


Hmm…just noticed the painting tape was still on the cupboard when I took the photo! Oh well!!


Now up to the bedroom ‘before’. I can’t live with red walls, even partial ones, especially in the bedroom, which, for me, as to be very calming. All the furnishings are residing in the adjacent guest bedroom. There is a bathroom between both bedrooms but other than adding a cupboard I had I didn’t change anything. The walls were painted a soft gray-blue, which I didn’t mind.


I positioned my bed in the opposite direction from the original bed. It allowed me to place a console and TV in that recessed area. The dresser doubles as a night table and is one the kitties favorite spots for watching the birds.

Since I am using the guest bedroom for storage I had to create a work space in my bedroom. As it turns out I like that concept very much (and so does Big Louie). The bedroom has 2 windows on opposite walls and one behind the dresser so there is wonderful air movement and plenty of spots for the kitties to look outside plus they love the fresht air. From the desk where Big Louie is you can see the water at the end of the street. I also see the storms and fog rolling in.


There is only one small closet in the bedroom but the doors are fabulous. On the photo below you can see the staircase into the bedroom. No door. This was the only wall where I could hang the book canvas I have had for 20 years and still love. Going up to the bedroom feels like going up to a nest. It’s quite wonderful and peaceful.


That’s it for the interior. There is only so much you can do when you are renting. I would love to do more but this will have to do! Now we can go take a look outside. Here is front before, though the window boxes had been removed.

I started by adding a few pots by the front door and by the gate to the garden.

Then came more pots and also a little bench….

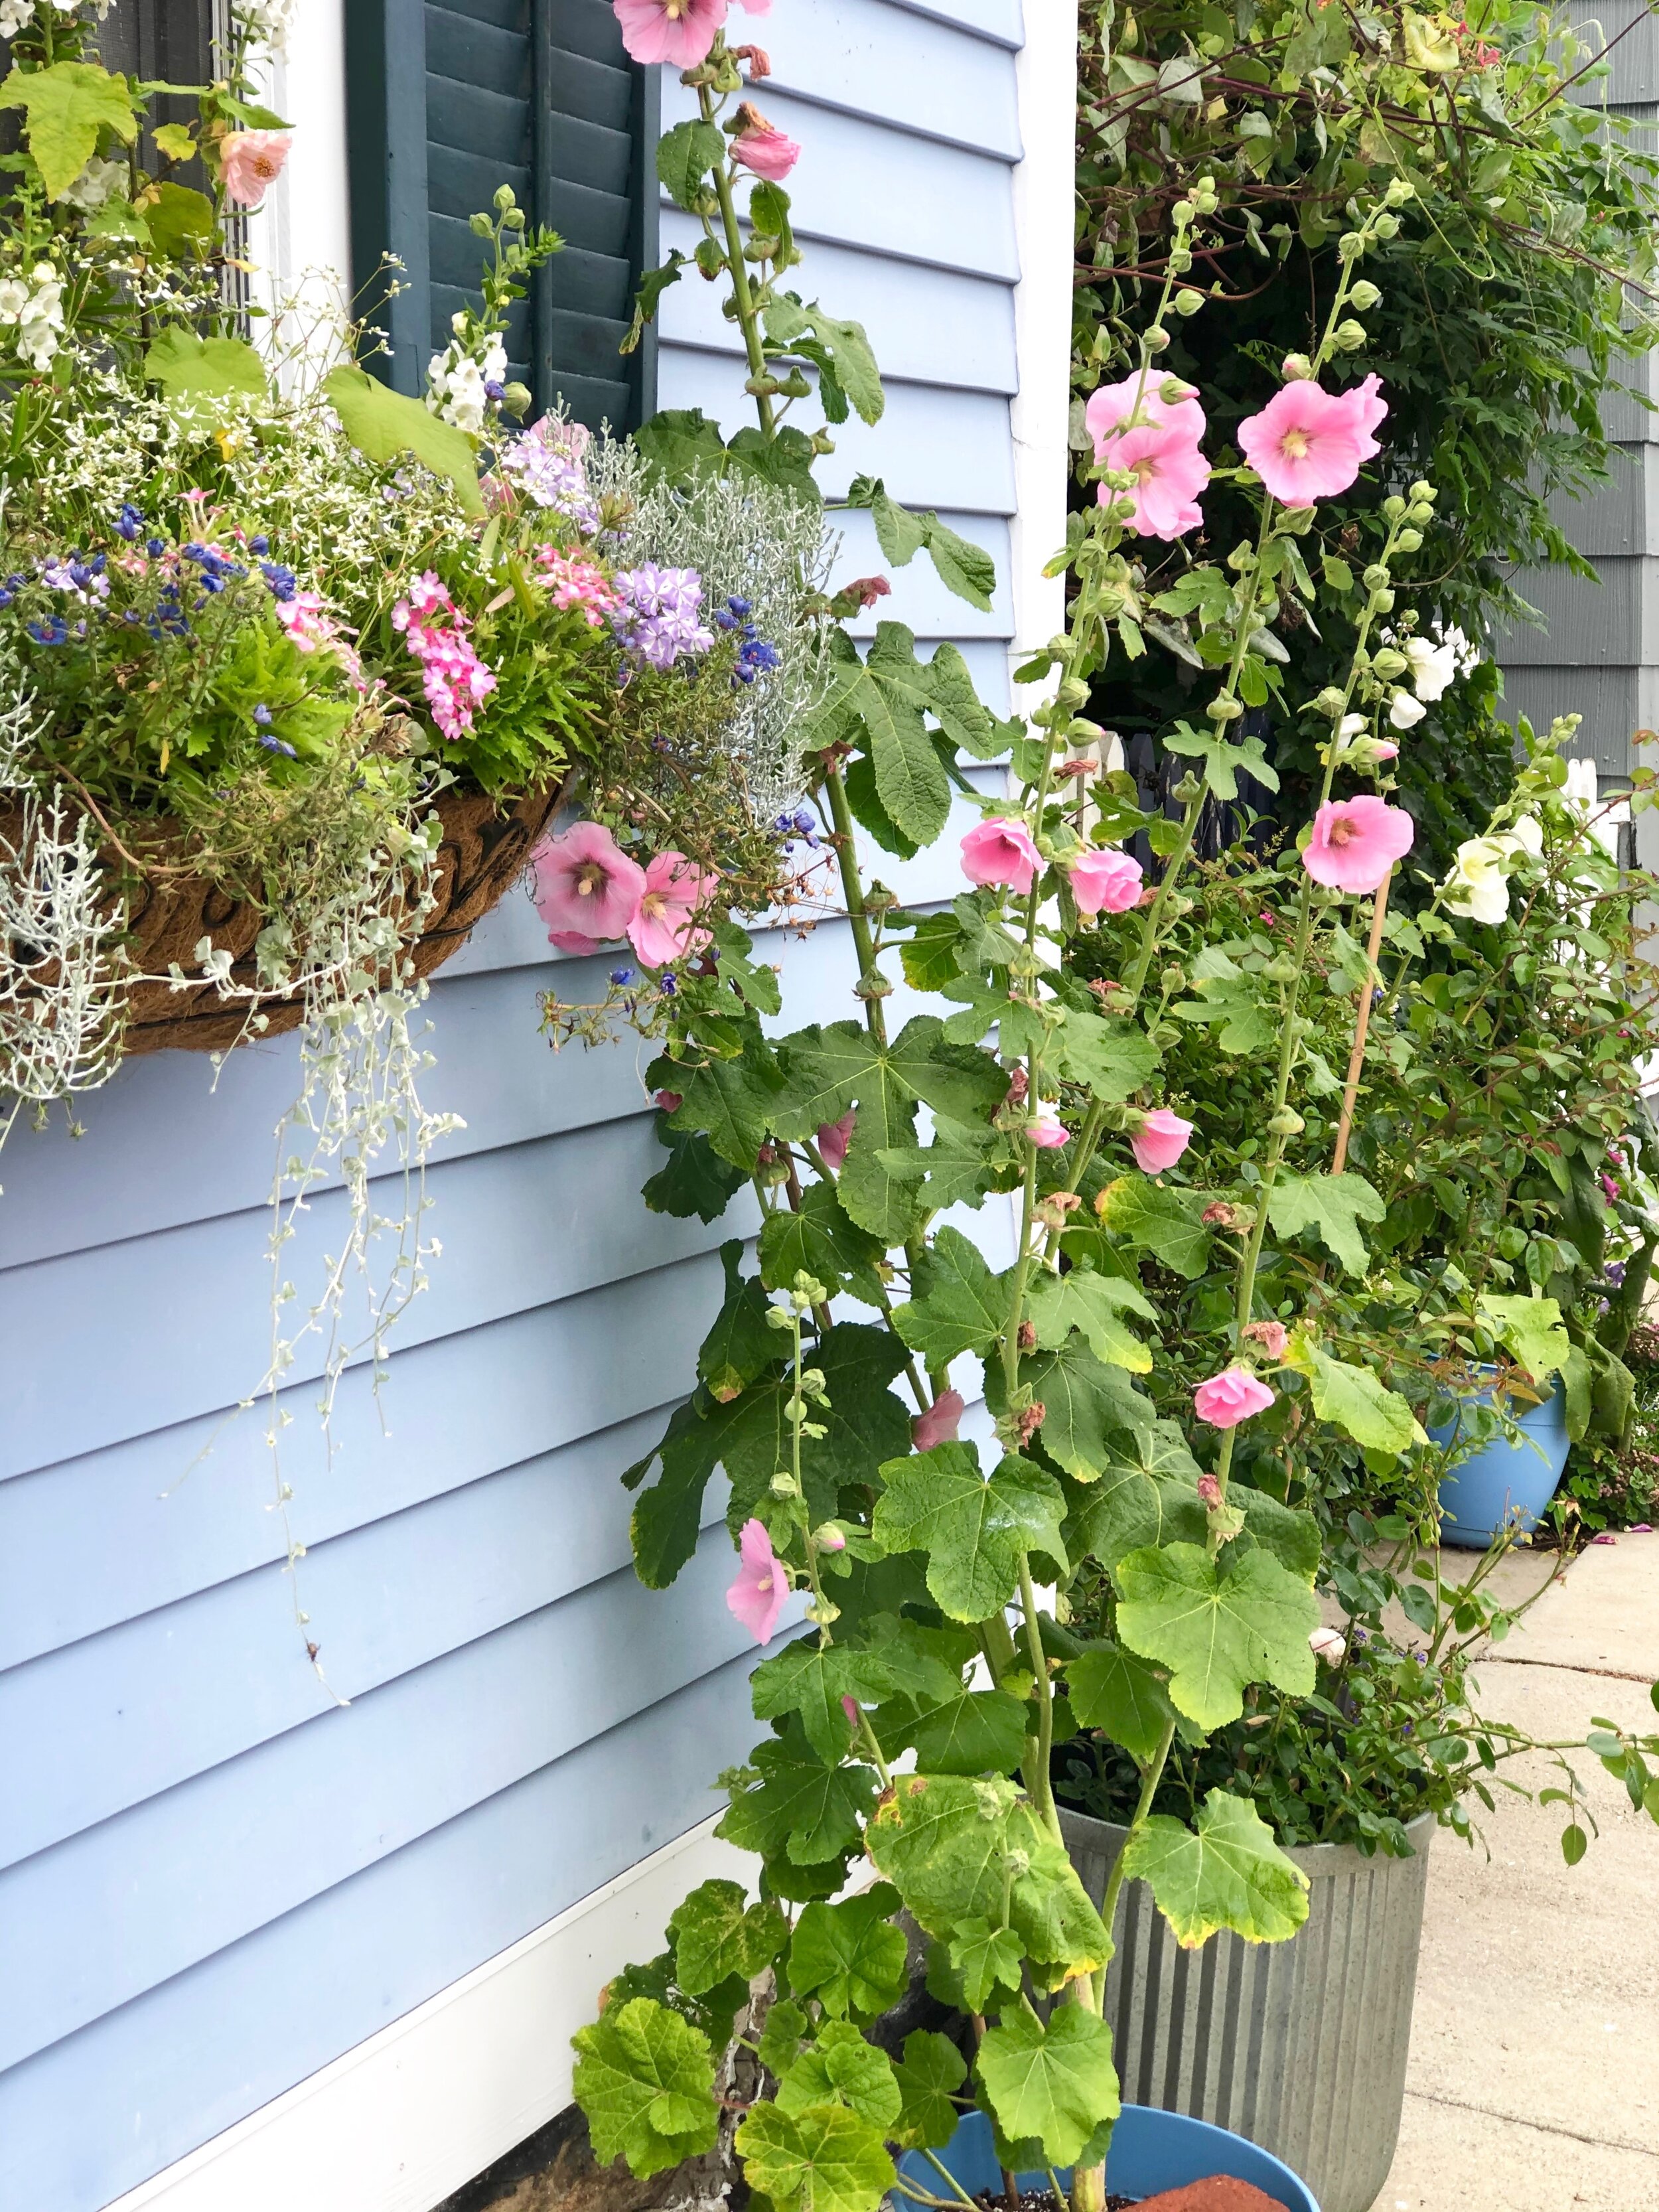
Then window boxes and hollyhock, larkspur and foxgloves…..


and more……


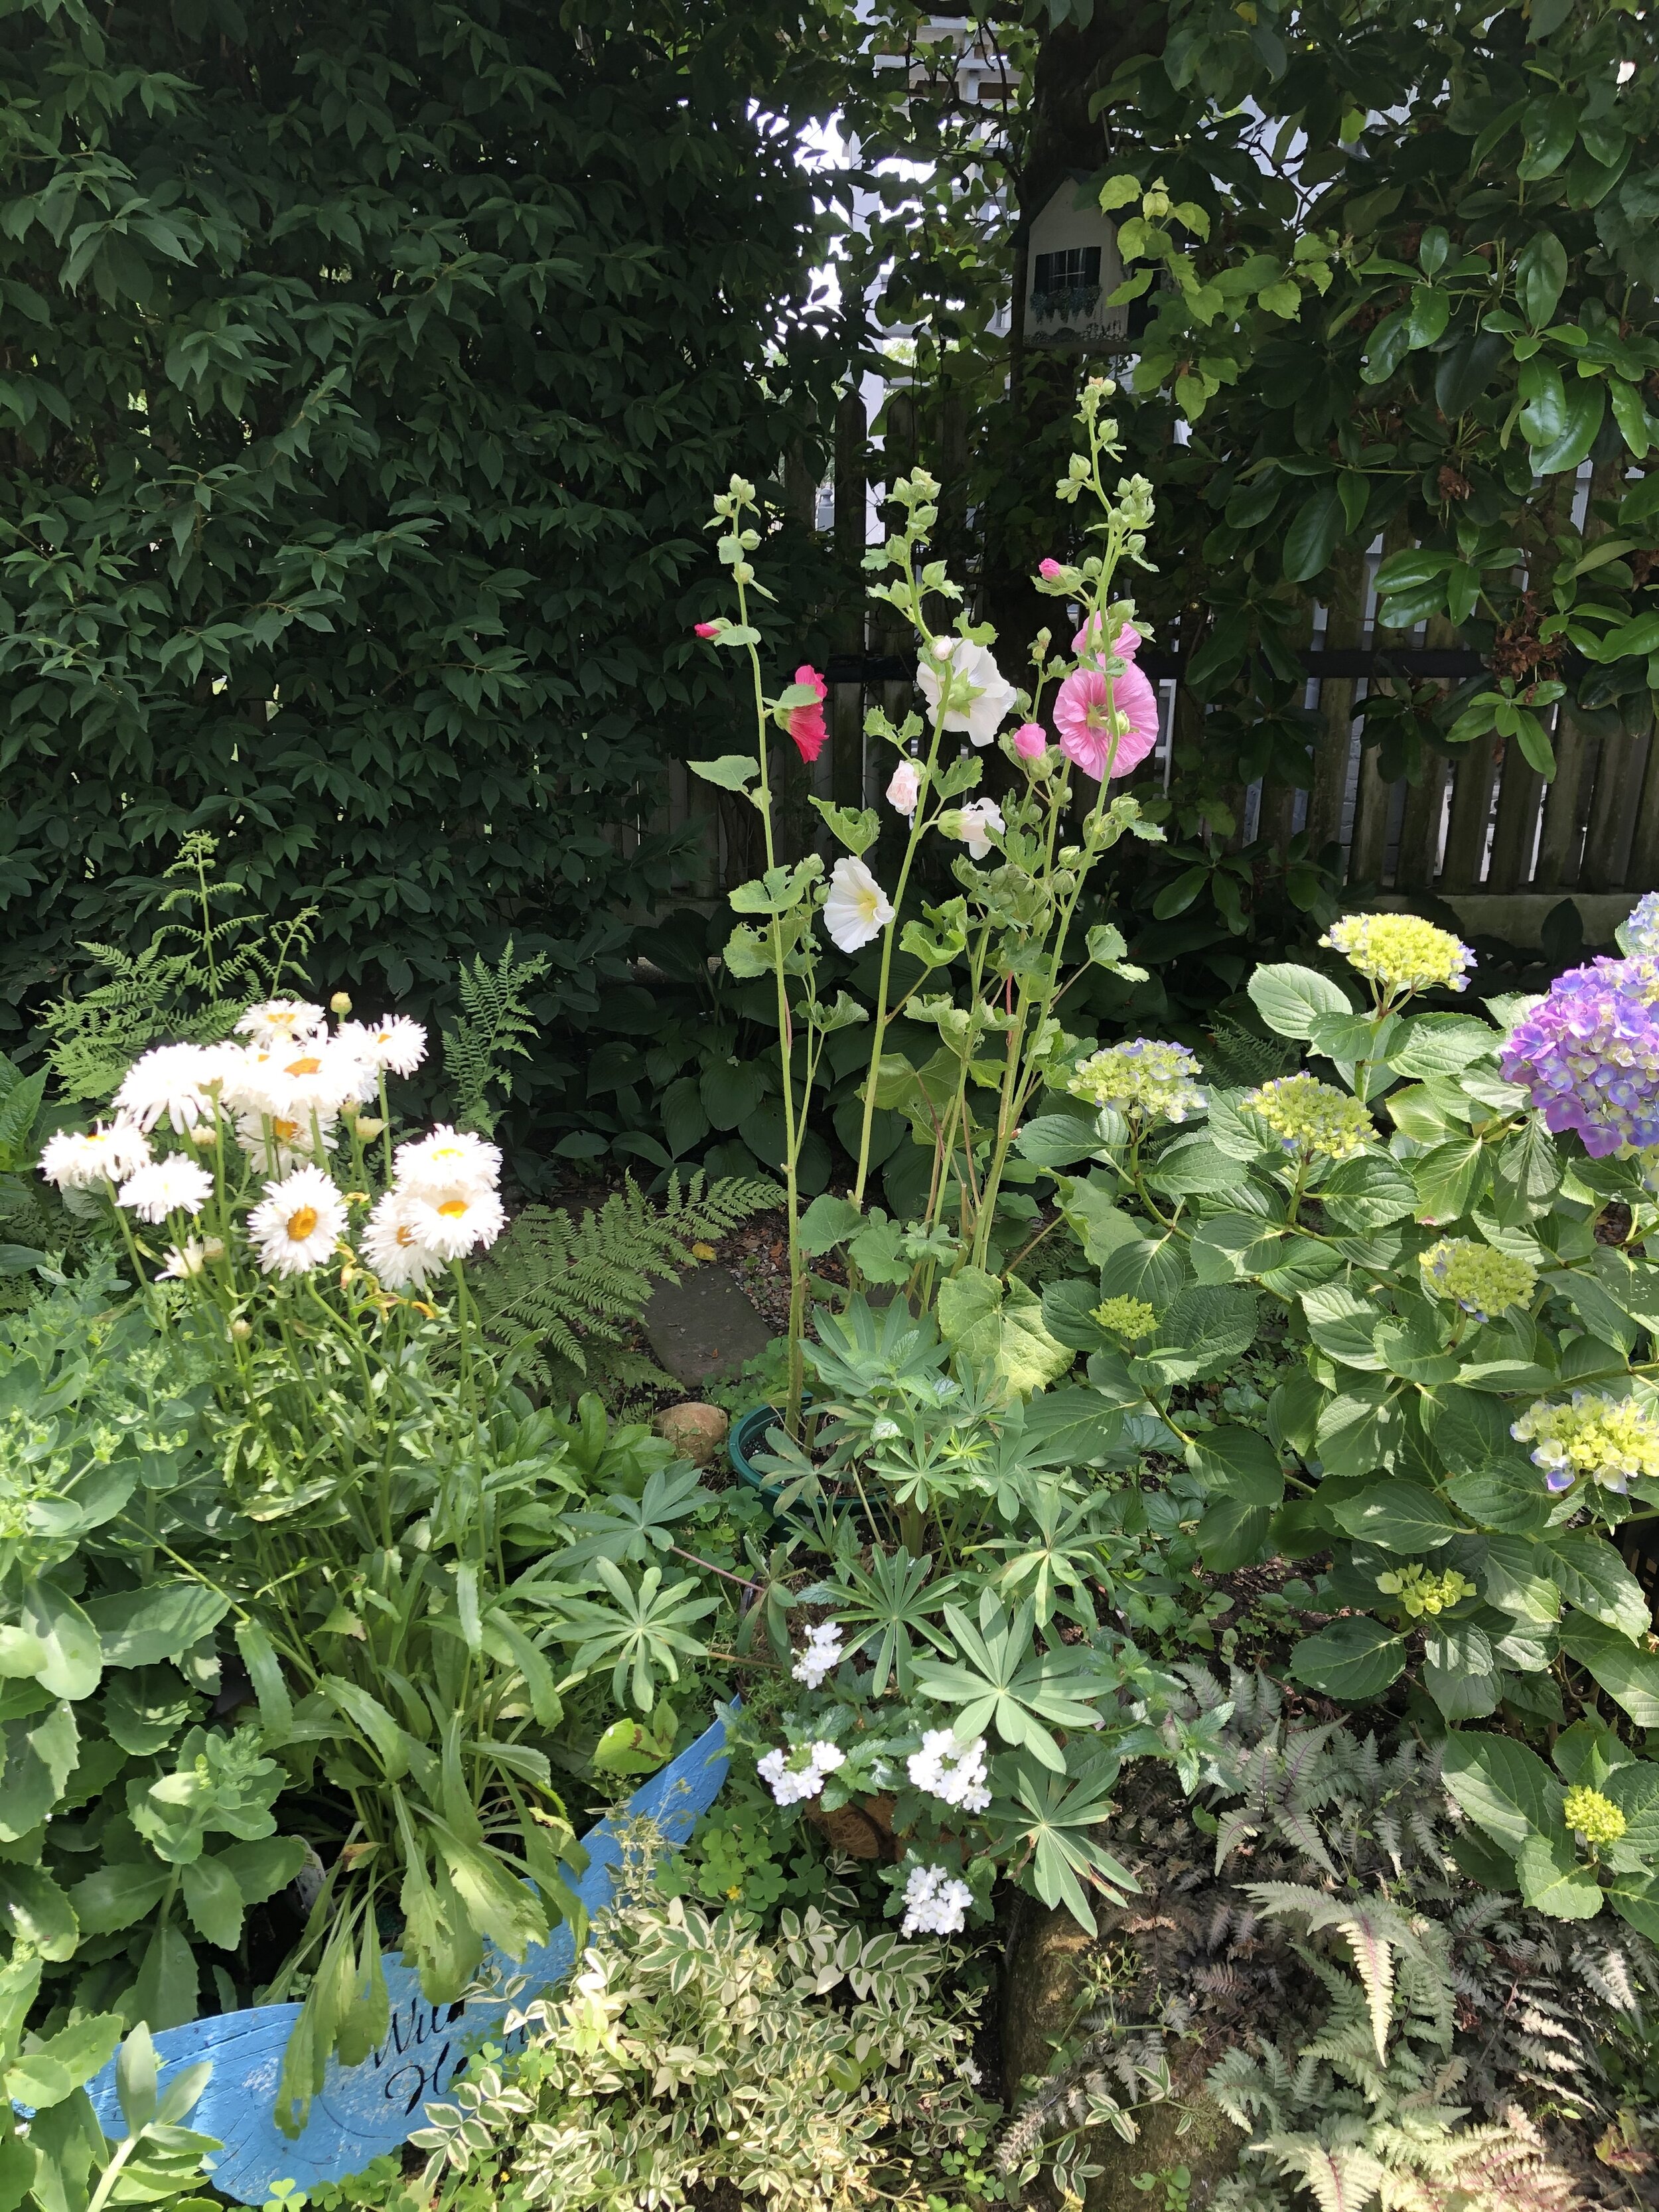
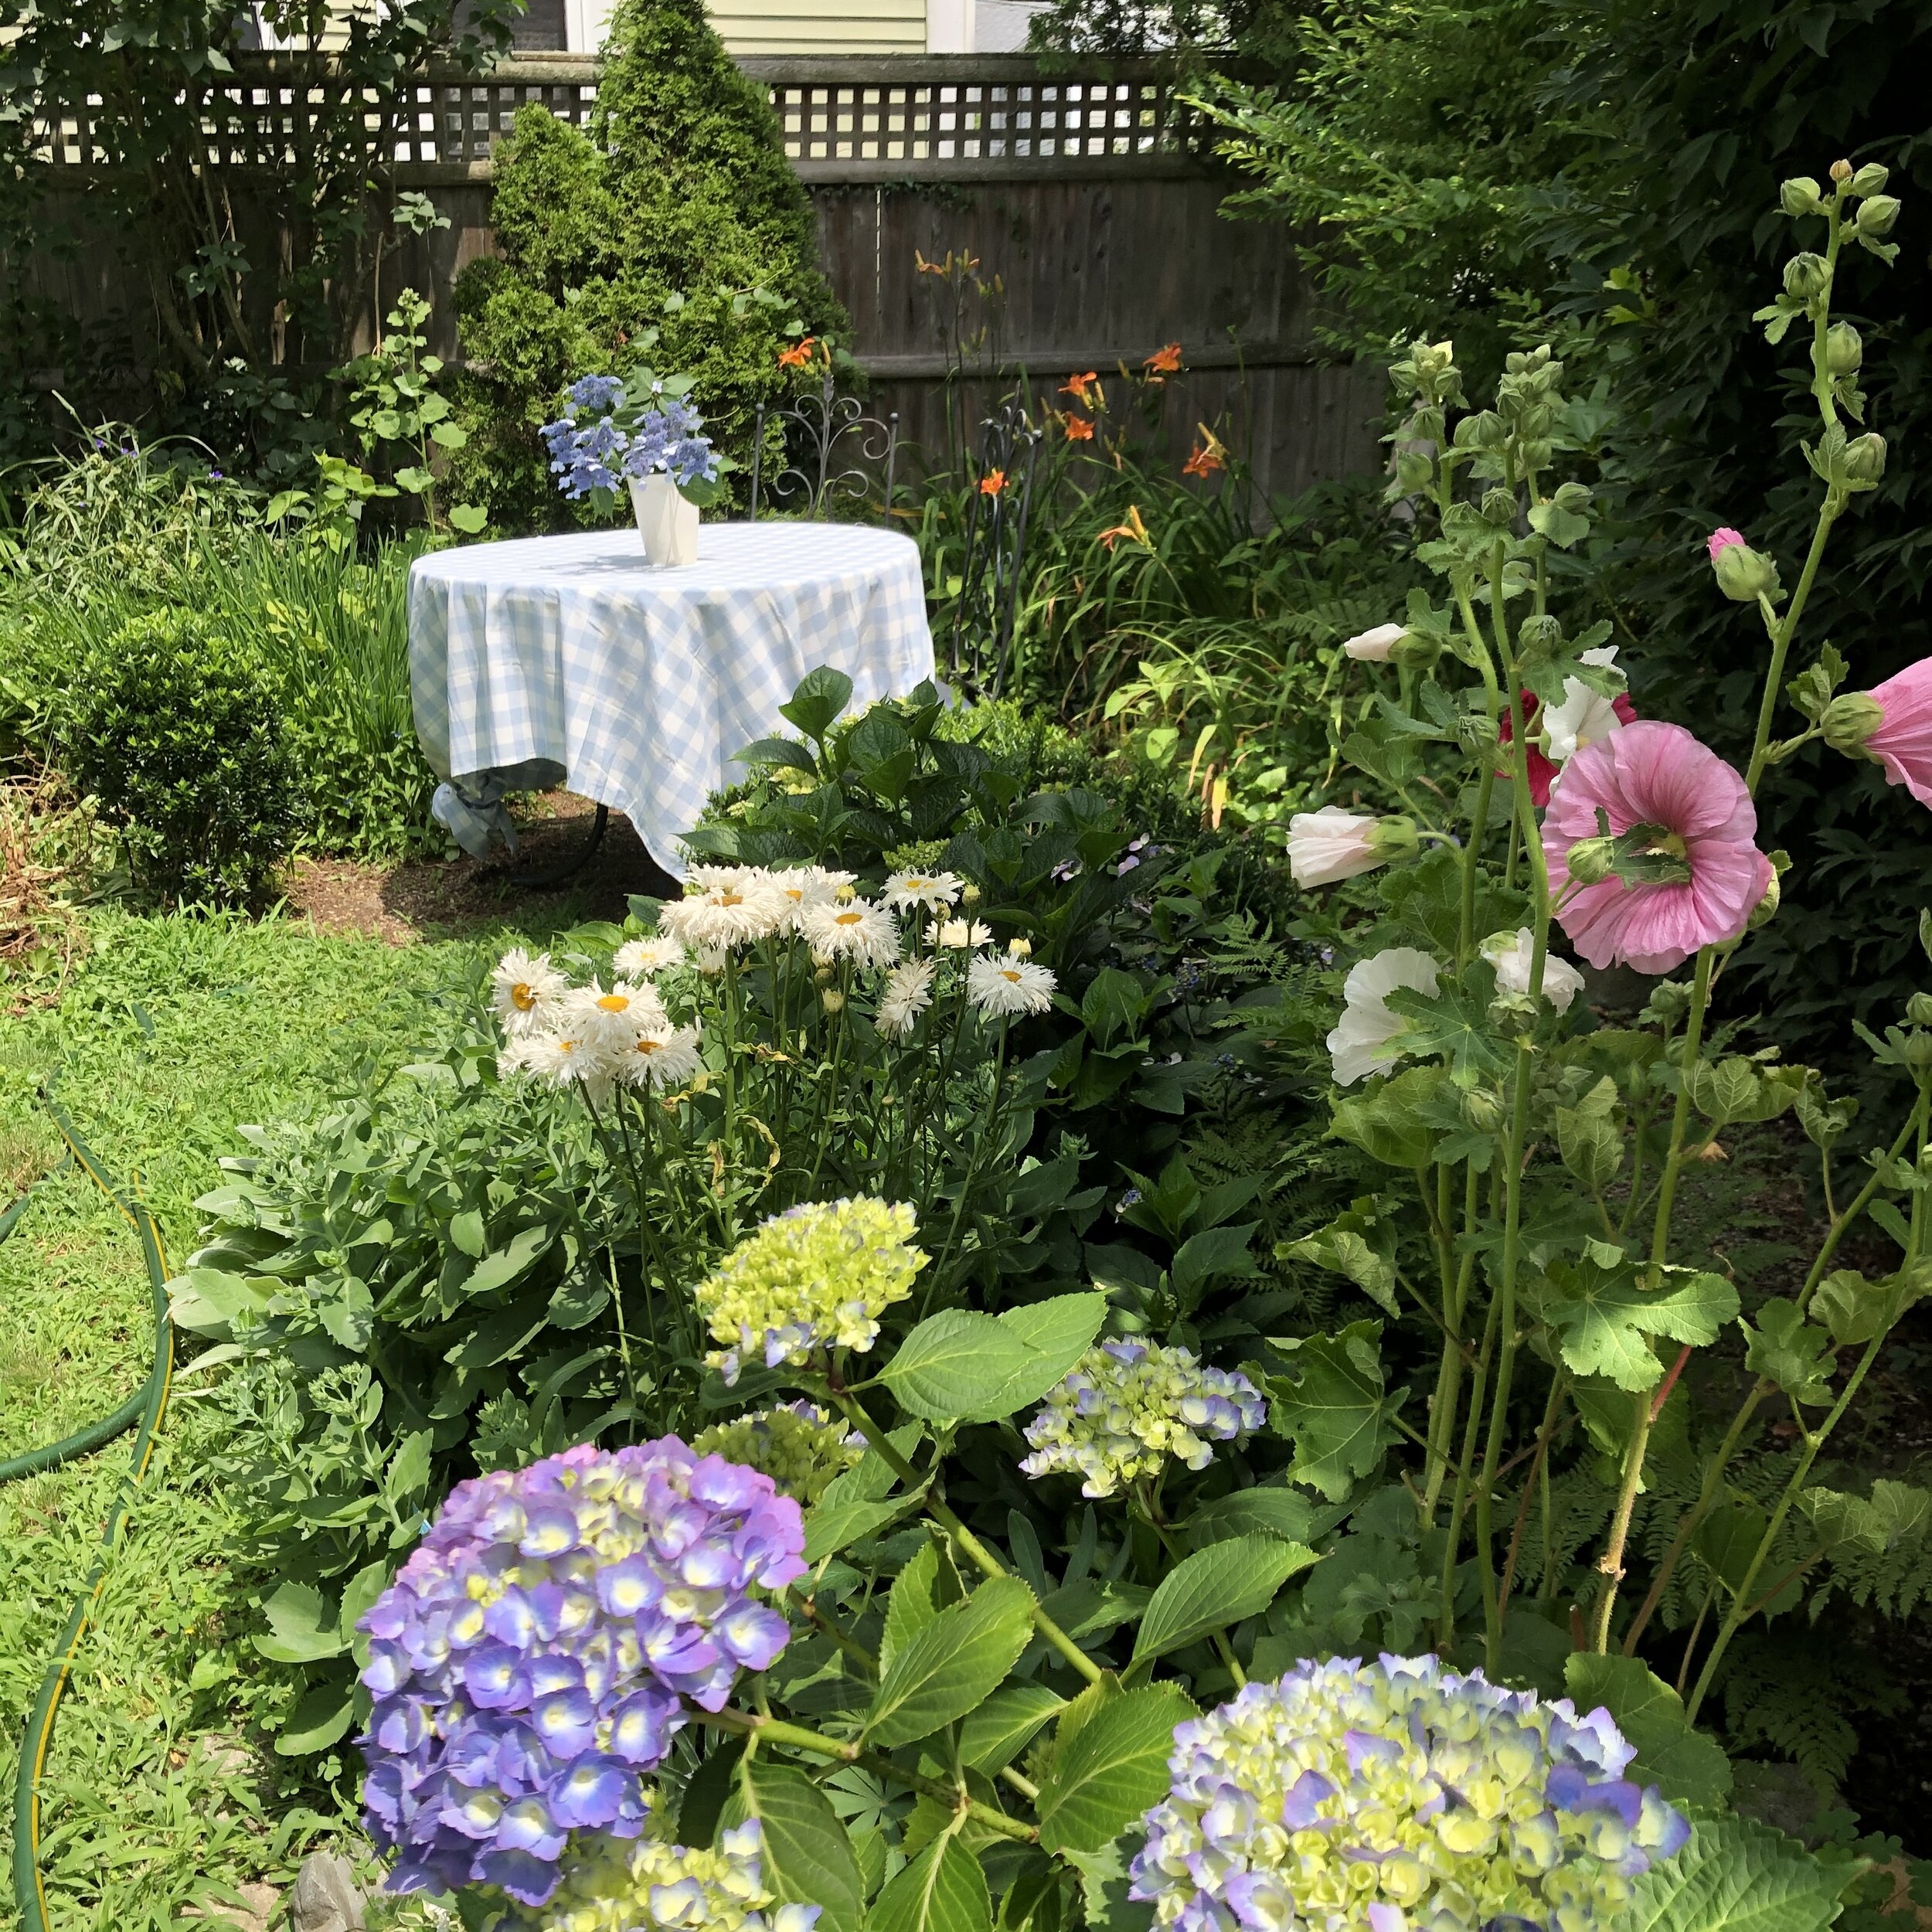
Even the garden got spruced up but still needs a lot of work…


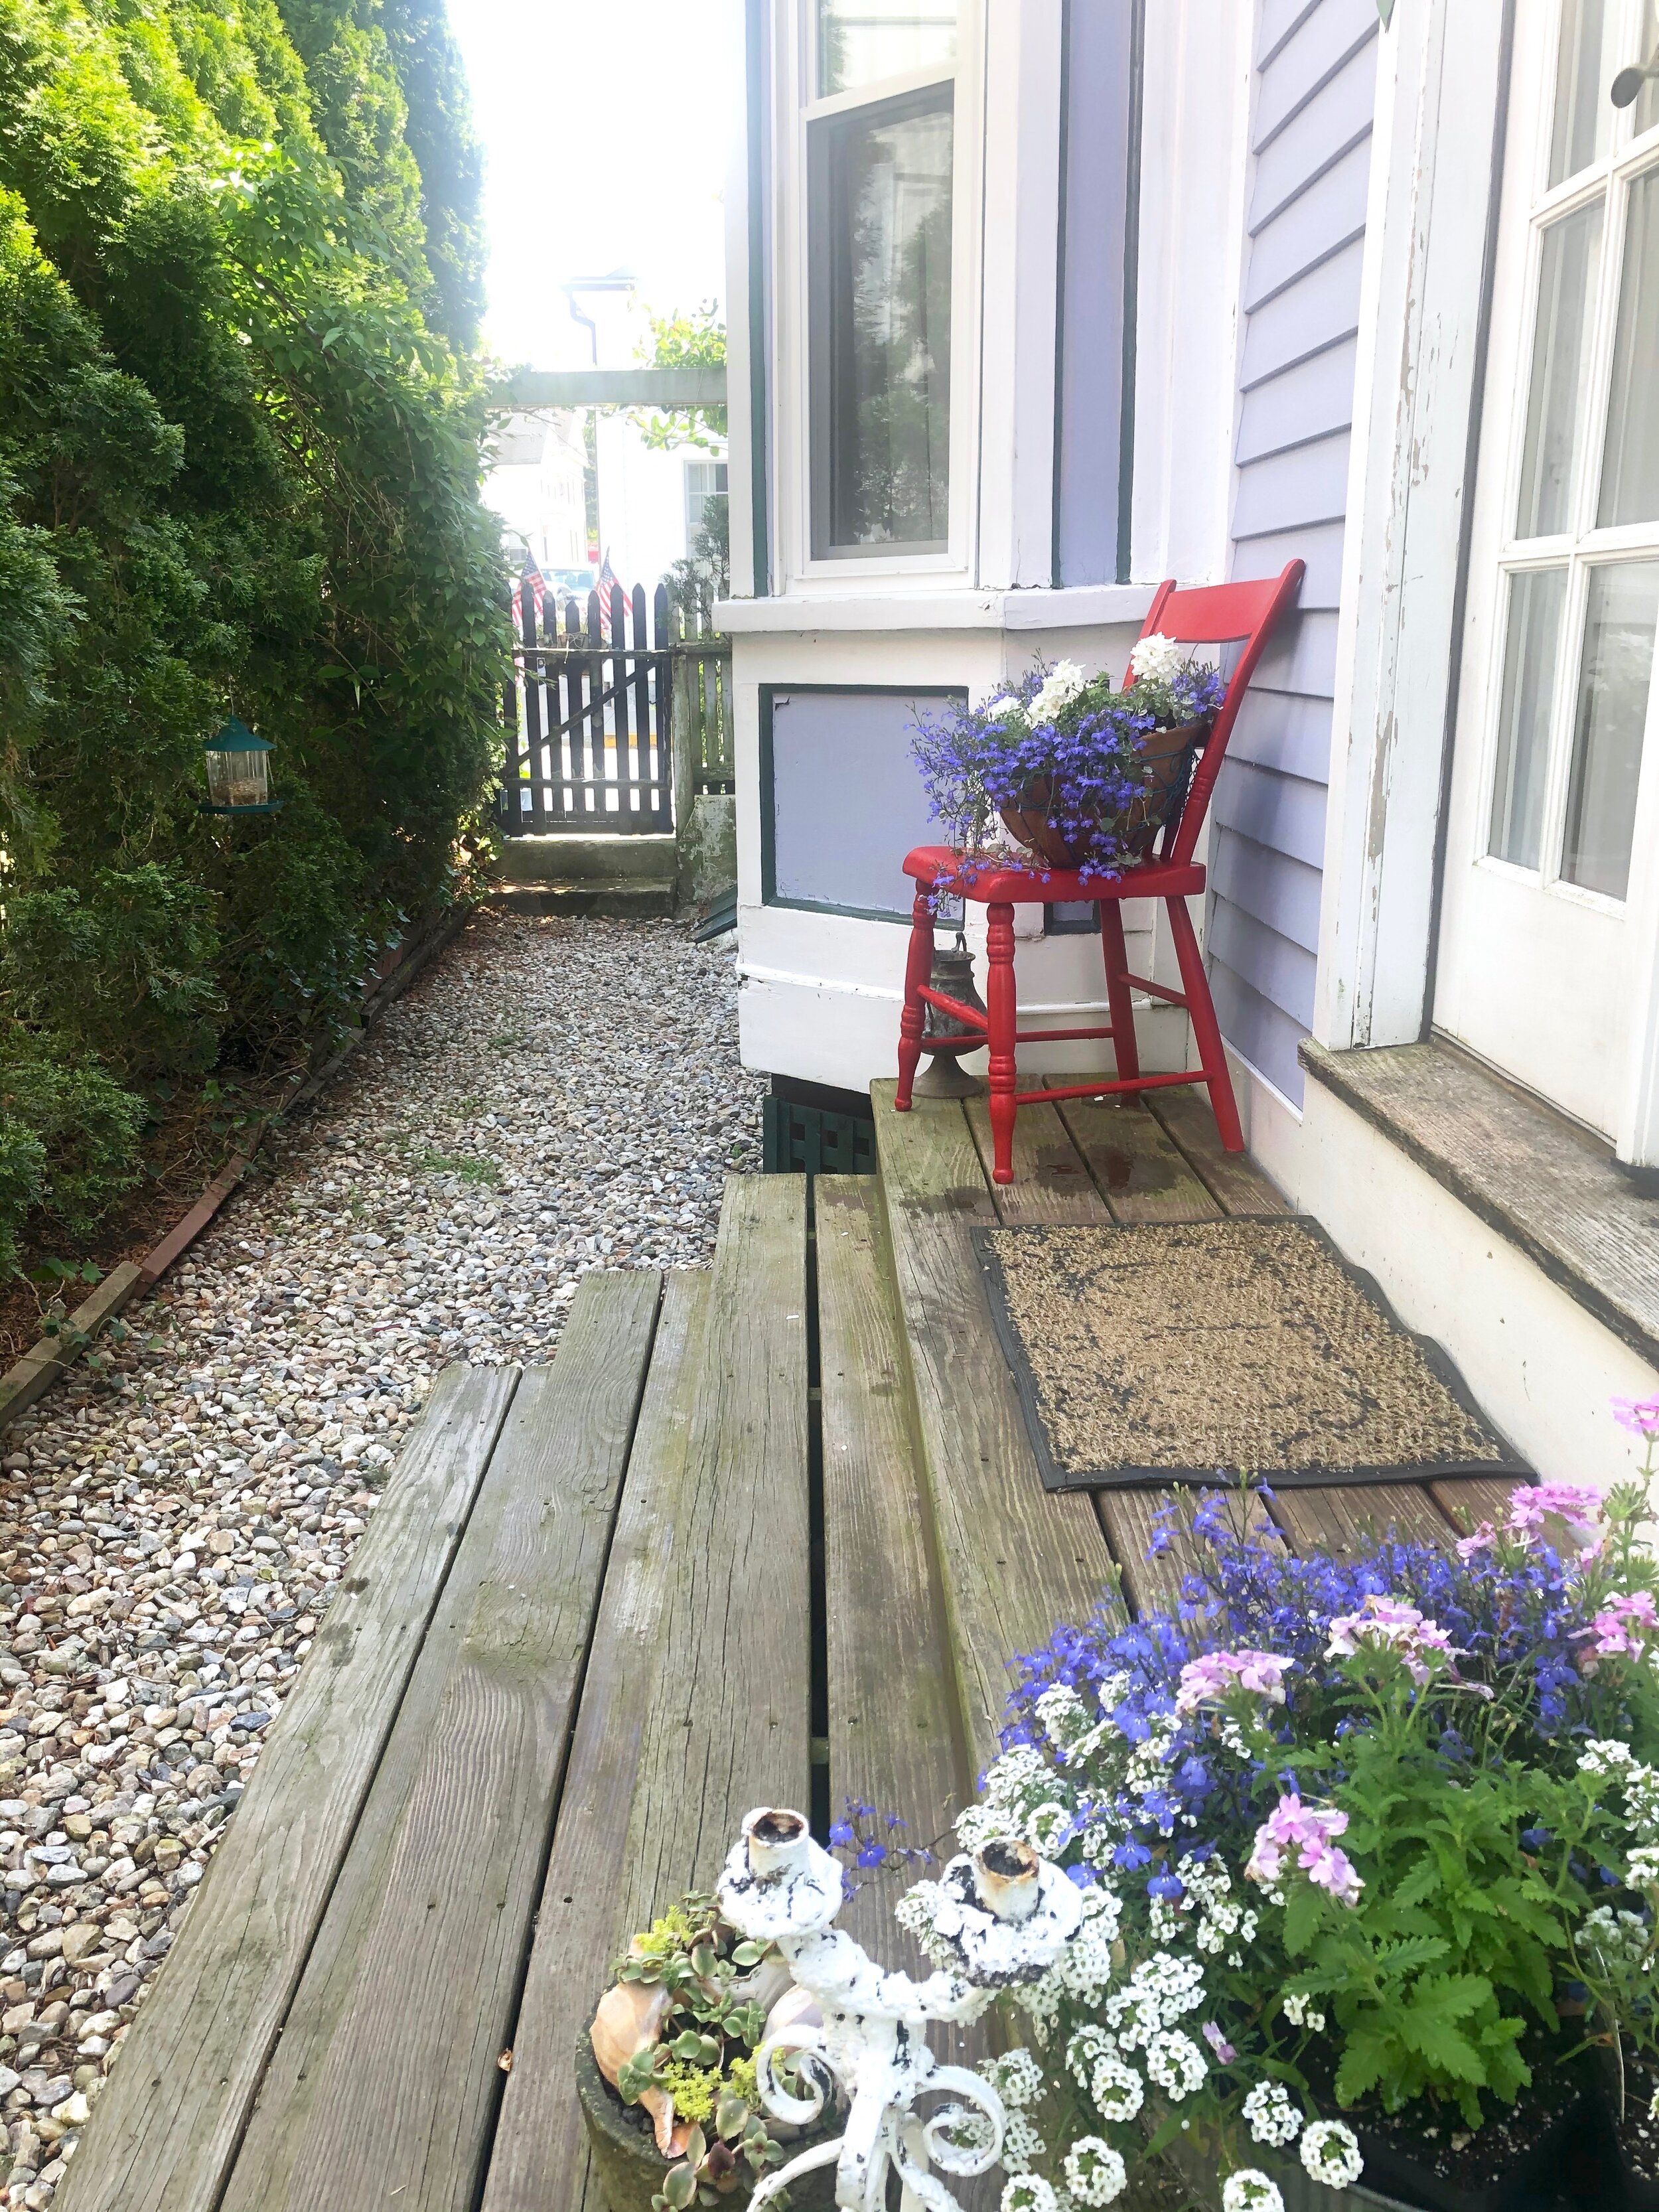
The path from the street to the side entrance of the house and garden

This is the entrance to the kitchen (need a new doormat!)

Thats’ it for now! Hope you have enjoyed this little tour! See ya! XO
